Ritchey Swiss + Cross & IMHO
I have a common phrase I use after building a bike from the frame up: “Awesome, it rides like a bike!” I, and any other cyclist who gazes upon it, see the bike as a whole; it brakes, it shifts, there is air in the tires, and it’s whisper quiet. To get to that point on each repair or project, it takes time and experience. In other words, I stress EVERY. LITTLE. DETAIL.
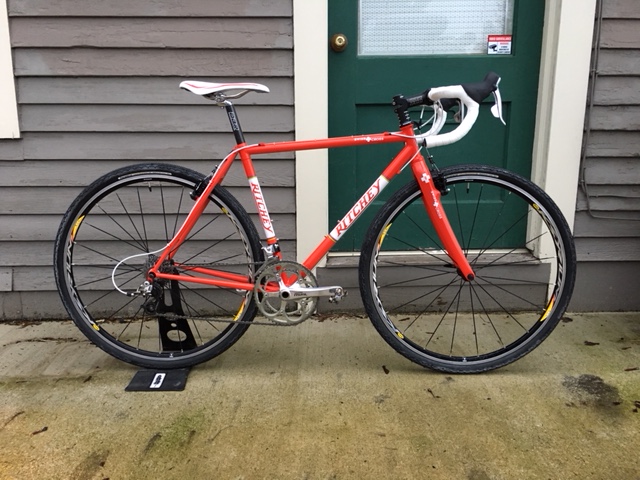
Originally introduced in 2012, the Ritchey Swiss + Cross was an elegant addition to the cyclocross framesets on the market when most ‘cross bikes were “out of the box/race ready”. This was appealing to a certain group of riders who ran their ‘cross equipment in the traditional manner: race their road group all season, crash, race, crash, put on ‘cross bike, race ‘cross bike with crashed components, have fun, and crash some more. Before disc brakes, axle standards, tapered head-tubes, and proprietary bb’s, you were able to directly swap most parts from a road frame to a ‘cross frame because all bikes had a threaded BSA/English bottom bracket, and a 27.2mm seatpost.
As of 2017, the Swiss + Cross was reintroduced in Ritchey’s lineup with a modern geometry, a new carbon fork, and a small change in cable routing. Below is my experience with this build. From road bike to ‘cross bike, this frameset is doing exactly what it needs to do: be easy on the budget, and fast on the course.

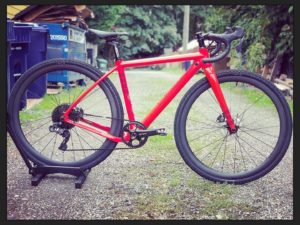
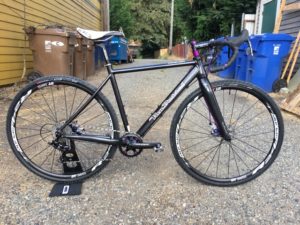
Look at that, all built up and ready to ride! This Ritchey Swiss + Cross build came to be from an old 2008 Diamondback carbon road bike. The Diamondback had seen only a handful of miles, hence why this 1st generation SRAM Rival group looks so fresh. But, it further proves my previous point. Take a bike, swap parts to a ‘cross bike, have more fun.
During the build, I took stock of what parts we could swap over:
- Shift group
- Cockpit
- Wheelset
…and what we needed:
- Brakes
- Tires
- Matching cable housing
- Matching handlebar tape
This bike has the potential to be a rad ‘cross machine. But like most ‘cross bikes, it can play other roles, like a cozy, steel road bike, or in this particular build, a gravel bike. While I recently waxed poetic about the benefits of owning such an adaptable frameset, I did come across a few items that warranted a raised eyebrow or a deep sigh.

While this cable guide for the brake on the left is paying homage to a long lost style of lug features, to me it says one thing; You HAVE to run cantilever brakes on this frame as there is no cable stop to facilitate running a v-brake styled caliper.

While it’s not 100% evident in this photo, it’s disturbing to me that the Ritchey-provided cable hanger is a free-floating piece of steel stock with a barrel adjuster. The key word here is “free-floating”; the cable housing forces the steel stock to one side of the holder or the other. Under heavy braking forces, you are left with the possibility that the steel piece could actually fall out of its holder.

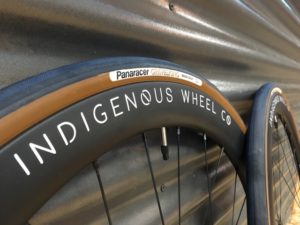
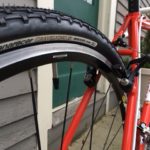
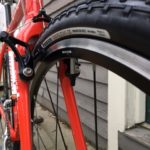
A set of 35c Panaracer Gravel King SK’s are always a solid choice for any gravel bike. On this bike, they’re put on a set of older and narrower Mavic Ksyrium’s. They come out to a tad under their badged width, but they are plenty tall because of it. Not my ideal rim-width-to-tire-choice ratio, but the rider’s main goal for the tire/wheel combo was maximum volume.

With a 34.6mm wide tire, the rear had barely any wiggle room for error. A 38c Panaracer Gravel King SK would’ve maxed out the clearance and a 33c would’ve measured out too small as seen in a previous review of the tire. https://indigenouswheelco.com/2016/05/23/panaracergravelkingreview/

I was impressed with the clearance of a modern Ritchey full carbon fork. It had plenty of clearance. We could easily fit 40c tires in there, but having them clear the brake calipers would be the only issue (as it is with all cantilever forks and gravel tires).

An update from the 2012 to 2017 model is this strand of housing. Ritchey decided to run a full length of housing instead of two segments of housing from the top tube to the rear derailleur. While this cleans up the bike and prevents premature wear on cables and housing, an extra zip-tie braze-on would’ve been helpful. Without one, that housing is free to migrate, tap, and bounce relentlessly on the frame in any uneven surface.
Those small points aside, the frame was straight, the welds were clean, and the post-fabrication prep work was spot on. The build came out great, and the bike rides very smoothly.
I am proud to have this bike in my stand, and especially happy to turn it over to its owner. Good luck out there in the open wild and DNR roads of the PNW, to both the rider and the machine.




 Previous Post
 Next Post